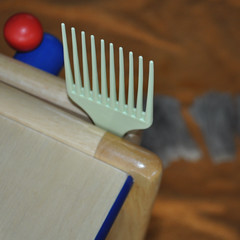
I'm a DIY gal. My niddy noddy is made out of PVC. I even set out to make myself a set of wool combs using nails and some scrap wood. But our hack-saw is so dull that I gave up in the end. Instead, as I walked down the aisle of the grocery store past the tiny section of hair-care items, I saw a blast from the 80s.. a hair-pick. I watched my friends tease their hair to astronomical heights with these things. But this time I looked and saw some really low-end wool combs.
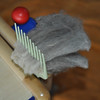
I couldn't quite figure out how to hold onto them, when it occurred to me that the "workbench" we got for the kids a couple of years back had the perfect clamp to hang onto the handle of a plastic pick.
Now if you want a really great tutorial on how to comb wool, I'm going to suggest you go watch this four part series on YouTube which is where I picked up my basics. I'm not going to go into too much detail about what exactly you're doing when combing wool, mostly because I don't understand it that well myself, yet. I might try explaining it more later on. I feel like I need to try it a few times, first!
In general, combing wool is intended to align the fibers and open them up for spinning. It's supposed to keep the tip ends together, facing the same direction. Unlike carding, it does not jumble the wool into a tangle but keeps everything laying parallel. This creates a "preparation" of wool that is ideal for spinning into worsted yarn. It's also supposed to be a lot more gentle on the fiber and is well-suited for very fine wools that would turn into a tangled, neppy mess if you carded them enthusiastically.
So to start, I took a few locks and sprayed them down with a water and oil mixture in an old hairspray bottle. This lubricates the fibers so they'll slide easily, and so they won't go all crazy with static while you're working.
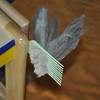
The next step is to load up the comb by "lashing on", which means to stick the butt end of the lock onto the tines of the comb. You then sweep a second comb across the tips of the lock so they catch and transfer to your other comb. I turned my comb at this point because you want to sweep them at right angles. Coming down from above was much easier for me with the second comb. Once all the fibers have transferred from your first comb to the second, you want to get them back to the first one again. So I moved it back upright and swept my full comb down at the stationary one to move them back over. Switch and repeat. You want to do this an even number of times so your locks end up on the original comb with the tip ends pointing out.
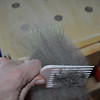
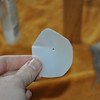
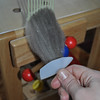
After that, I pulled a little twist of the tips of fiber through a small object called a "diz". Basically this is something somewhat hard with a little hole in it used to pull the wool off the comb while keeping it all aligned. Mine is cut from the side of a milk jug (which was inspired by a friends "favorite" diz made of the same material, or I probably wouldn't have thought of it). Easy. Fast. DIY. My kind of tool. Pulling the wool through the diz creates a long strip, or "sliver" which is stored in a little bundle of fibers until you want to spin it. These cute little poofs are "birds nests". Lots of new terms!
My DIY setup worked! Maybe not the best it could. As I worked I found out my washing process needs refining, too. The locks still had a goodly amount of lanolin in them. I got better as I worked through the ounce, making the transfer more easily and breaking fewer fibers. Breakage is bad. It gives you nepps (little knots of wool that broke and "sproinged!" into twisty tangles). My waste went into another bag which I later carded, nepps and all.
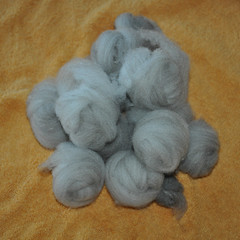
My bird's nests made a cute little pile. Out of two ounces of fiber, I ended up with just over one ounce of combed wool. That's a 50% loss and a little high. You loose some of the weight to washing, but I'm pretty sure my own "skill" was the worst culprit. Some of it was lost when I couldn't get it to separate into good locks. And some was lost in the combing. Still, I'm pretty happy with this as a learning process and the next step will be spinning the fiber.

No comments:
Post a Comment